Any tips for lighting an underground test sphere chamber?
I used the underground light array instances (the ones that look like stadium flood-lights) for my lighting, and even though they look like they're shining nice and bright, they don't seem to shed any light on anything, making the level very dark, I have to place a quite few light entities around the level just so I can see around, but the test sphere itself is still so dark I can't see it at all no matter how many lights I use, unless I use the mat_fullbright command.
This is how it looks, for this screenshot I added lights pointing at the test sphere wall so you can see how they're lighting it, or rather how they are not:
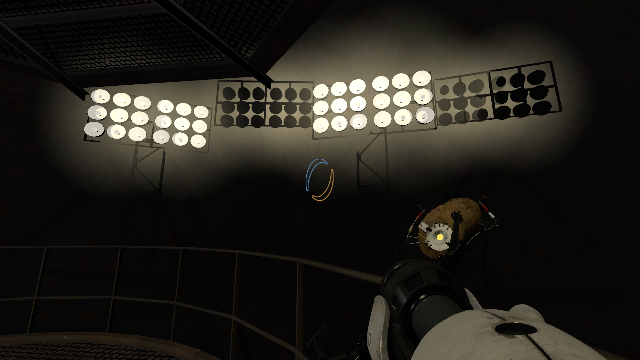
the lights don't do much for the rest of the level, I think most of the light is just from the elevator instance:
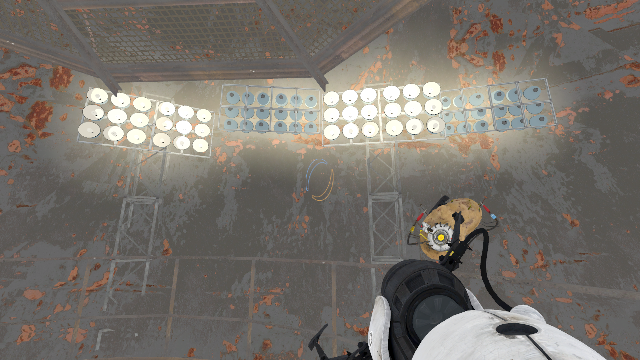
with fullbright on you can see that the test sphere IS there:
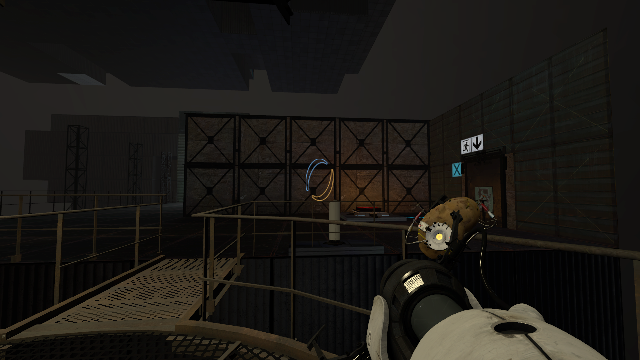
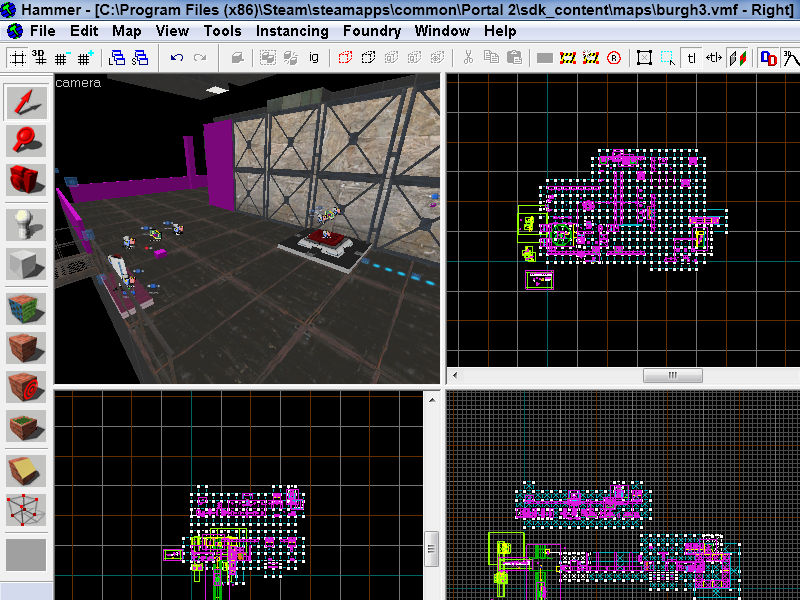
One other thing that's pretty much just a nuisance more than anything else is, when I bring the test sphere instance into the level, the 3d camera view in hammer keeps getting obscured by these strange greenish-blue walls everywhere, why do they appear? I had to put that instance into separate visgroup to hide it so I can work on the rest of the level without any of those weird walls getting in the way.
this is how it looks with the test sphere instance, you can see the bluish-greenish wall that I mentioned obscuring the view.
and without the test sphere instance.
Getting back to trying to fix the lighting, I had an idea, I made a basic underground test chamber in the puzzlemaker with syle-changer and beemod, then exported it so I could have a look at it in hammer to see how the lighting was done there, but I found it had mysteriously turned into an ordinary standard puzzlemaker test chamber.
The other idea was to decompile an underground BSP and open it to see how the lighting is done, but I can't get to the download page for any of those decomilers, if I do a google search for any of those, when ever I click the links, my browser just continuously loads and doesn't bring up the page.
so, yeah, sorry about the long thread here, but  anyway, any help would be appreciated.

As for lighting, the instances don't actually have any lighting stuff in them, just the models and glow effects. To get lighting, put a light_spot in front of an array, and make sure it's pointing the right direction. I would recommend giving it a faint yellow color with a brightness of around 2000.
EDIT: Just be warned though, the underground theme is pretty hard to get the lighting right on. You're going to need to use a lot of these light arrays, and maybe some fudged ambient lighting if it doesn't work. When in doubt, you can look at how Valve did sp_a3_speed_ramp.
Also, try making an env_ambient_light. (I think it's called that) it puts a nice tone everywhere, and can be turned on and off. Just remember that when choosing the color, make it very very close to black. It makes a difference, trust me. When choosing the color, try experimenting around a bit. If you can't find a good one, dark dark grey will always work.
This will do a few things; it will lighten up your fog, which means your lights will spread more evenly everywhere, (fog spreads light)
And will also make your map look more official.
I would gravitate to warmer lights, as those look best in the more open environment layout you have. If you ever have a more contained space though, cooler toned lights will work fine too.
Use just normal "light" entities only when necessary here; they don't look very natural. I would use light_spots. These are ideal because they look more like actual lights, usually don't make surfaces too bright, and are much easier to control. There are many instances of prebuilt lights already, but I would collapse them and tweak them (to collapse and instance go to 'instancing' at the top and click 'collapse selected.') It will probably take dozens of compiles to get the lights perfect (old aperture maps take forever to look good.)
Something interesting: In official Valve maps, there are hardly, if any, projected textures present in the old aperture levels. This is because projected textures are very sharp, and they wanted to focus more on round and spread out lights here. (Contrasting the old, round, aperture with the sharp, new, aperture, in a way.) It's up to you really; you can sneak one in there if you want, or use them a lot. Just know that they will stick out. They look nice shown lightly through grates by the way.
Random aesthetic stuffs: use point_spotlights to make the areas around lights look dusty. You can also use an env_sprite and set it to worldglow for a similar, but rounder effect.
There's a ton of stuff here, but here's on last (and extremely important) thing.
When you compile your final version, make it an advanced compile. Then, in the little list of options, select 'Full Compile- both hdr and ldr- final (slow!)' This will do many things:
-It will use the vertexes on props to calculate shadows. This means that props will have lighting like brushes, and also means your giant asbestos sphere will look pretty and not too dark or too bright or something. So you don't even have to mess with it! (Without this selected, props will use just their origin location to determine how the entire prop will be lit up, hence the weird effects.) You should also know:
- At default, it will run your map immediately after compiling.
-It will compile both hdr and ldr lighting into your map, which means that it will look pretty for both hdr and ldr players!
-It does some other stuff too, but the main thing is this setting is what will make your map look best. If you want to work faster, (it's very slow,) I wouldn't use this compile until the end of map development.
You can also use lights to subtly make important gameplay areas stand out. This is why so many doors and buttons in old aperture have lights or something near them; you are drawn to them first.
There's way more here, (texture emitting lights, how light reflects off certain textures,) but this post is already too long...
So good luck, and happy mapping!